
Color & Tone
Light and colour, from a quick brightness fix to a complete colour mood, flat poster tones or pure black and white. Add one in Properties → Effects → + Add Effect (Using effects).
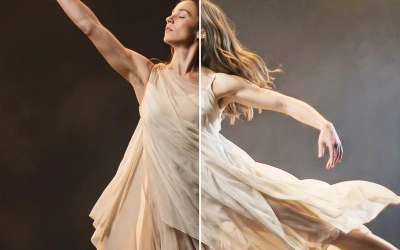 BrightnessLightens or darkens the mid-tones while black and white stay where they are.
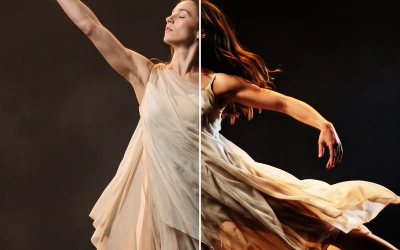 ContrastAdds punch: deeper shadows and brighter highlights on a soft S-curve that never burns out.
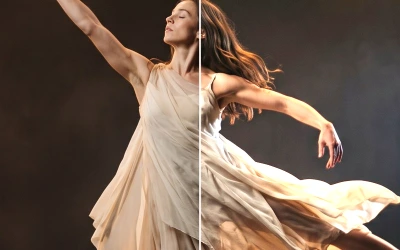 ExposureChanges the amount of light, like a camera's exposure: +1 doubles the light, −1 halves it.
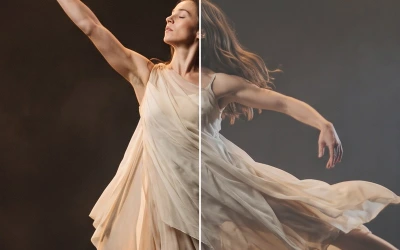 LevelsChooses which tone becomes black, which becomes white and how bright the middle is.
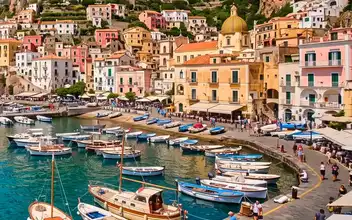 SaturationMakes colours stronger or weaker, from black and white to rich and glowing.
 VibranceA gentle saturation that strengthens pale colours a lot and strong colours and skin only a little.
 TemperatureMakes the light warmer or cooler, like the white balance of a camera.
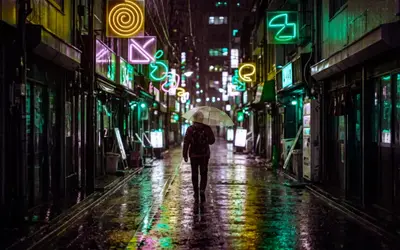 Hue ShiftTurns every colour around the colour wheel, so orange can become green and pink yellow.
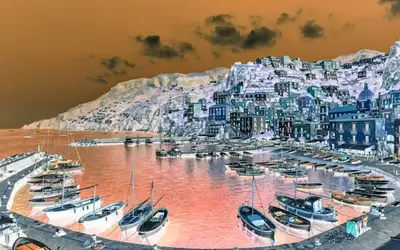 InvertTurns the picture into its negative: dark becomes light, light becomes dark, and every colour becomes its opposite.
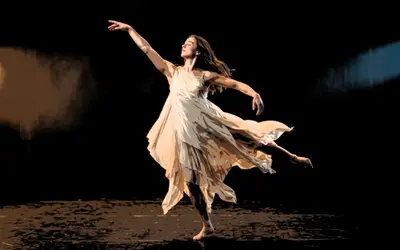 PosterizeReduces the picture to a few flat tones, like a screen print or a poster.
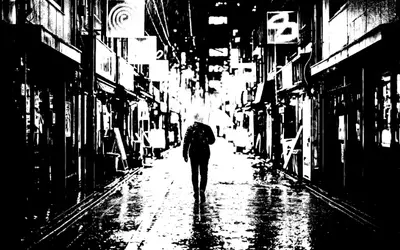 ThresholdTurns the picture into pure black and white: everything brighter than Level becomes white, the rest black.
Which one?
Section titled “Which one?”| I want… | Use |
|---|---|
| lighter or darker mid-tones, without a grey veil | Brightness |
| more or less light, like the camera’s aperture | Exposure |
| more punch | Contrast |
| a faded print: lifted blacks, softer whites | Contrast below 1 (Faded Print), or Levels for exact points (Matte Film) |
| exact black and white points | Levels |
| stronger or weaker colours | Saturation; on faces Vibrance |
| warmer or cooler light | Temperature |
| different colours | Hue Shift |
| a negative | Invert |
| a few flat tones | Posterize |
| pure black and white | Threshold |
The shared idea
Section titled “The shared idea”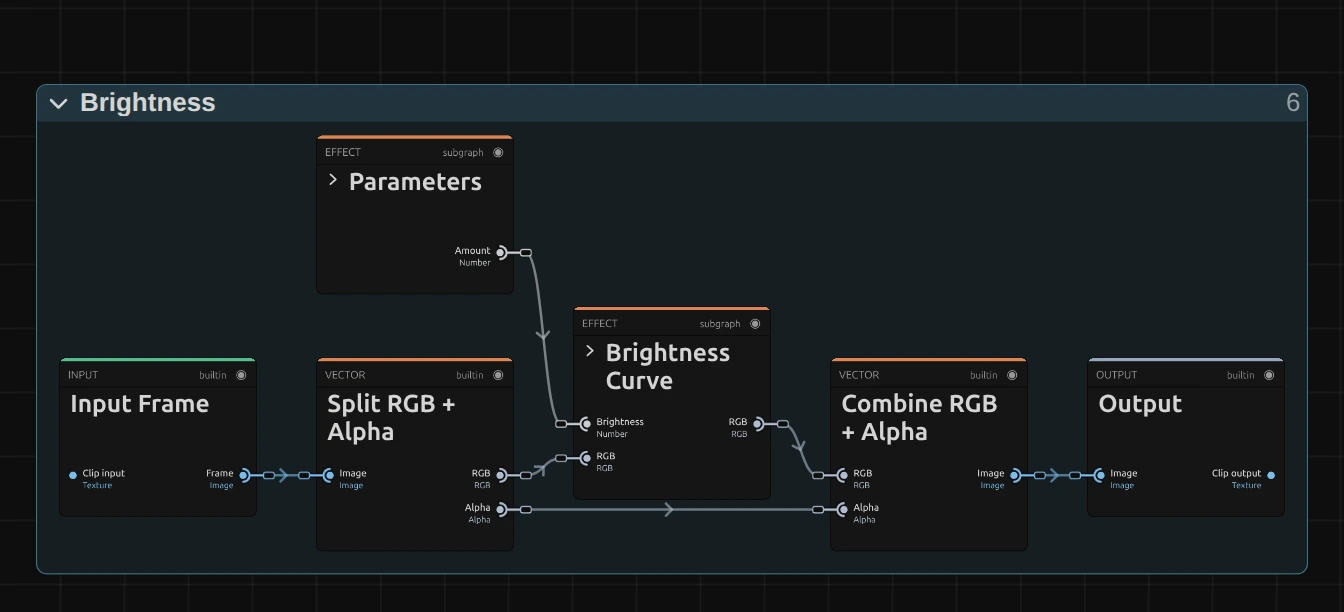
Every colour effect is a small node graph of the same shape:
- Split RGB + Alpha separates the colour from the transparency.
- Parameters holds the controls. A control gets a limit where a typed-in extreme value could break the picture (Brightness, Contrast or a Gamma); a control where every value has a clear result, such as Exposure’s Offset, the points of Levels or Hue Shift’s Shift (past a full turn either way it simply goes round again), goes out as it is.
- One or more working stages do the actual work: one folder in Brightness (Brightness Curve) and Contrast (Contrast Curve), several in a row in Exposure (Exposure (Stops), then Offset & Gamma) or Levels. Each effect page shows its stages under Node setup.
- Combine RGB + Alpha puts the untouched transparency back, in some effects after a Clamp & Alpha folder that keeps the colour between black and white.
Invert is the smallest of them: it has no controls, one working folder (Invert RGB) and needs no clamp, so its last folder is called Alpha & Image.
Posterize has the longest path: Step Input, Hard Steps, Soft Steps, Spread to 0–1 and Colour & Alpha, from what gets stepped to the colour it keeps.
Threshold splits after its Brightness folder: a Hard Edge and a Soft Edge work side by side, and Black & White picks one of them.
Black stays black and white stays white unless you ask for it, and colours keep their shade when you push them. The blocks Brightness Curve, Contrast Curve, Exposure (Stops), White Balance, Saturation (Gamut-Safe) and Hue Rotate (OkLCh) are also in right-click → Reusable Nodes (category Color & Mask), so you can drop them into any other image effect graph. How to open a graph: The node setup.
Technical details
Section titled “Technical details”Colour effects work on the 8-bit picture, from black to white, with no extra headroom between effects. You can type a value past the end of a slider up to what the effect can show; beyond that the card says which value it uses. Colour effects in projects saved before October 2026 keep the look they were saved with; add the effect again for the current one. One bug fix changes saved looks: a Contrast saved with Amount below 1 before this fix (with the October 2026 recipe) now fades evenly toward grey instead of breaking dark shadows into coloured blotches; from Amount 1 up it looks exactly as before.
Developer notes: Effect system: Color & Tone notes.