
Print & Halftone
Turn the picture into printed marks: newspaper dots, dither patterns and two-ink risograph prints. Add one in Properties → Effects → + Add Effect → Print & Halftone (Using effects).
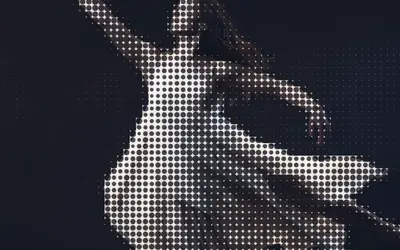 HalftonePrints the picture as a grid of round dots that grow in the dark parts, like a newspaper photo or a pop-art poster.
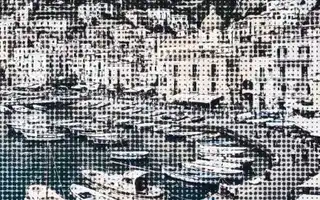 Pattern HalftoneHalftone screen of circle, diamond or line marks sized by image darkness, in Ink on Paper.
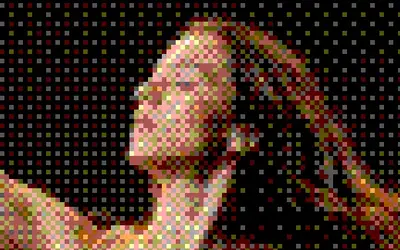 DitheringTurns the picture into big pixels of a few flat colours in a checked pattern, like an early computer screen.
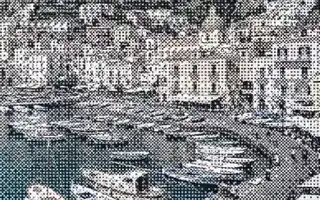 Dither StudioReduces the image to two ink colors using a selectable dither pattern.
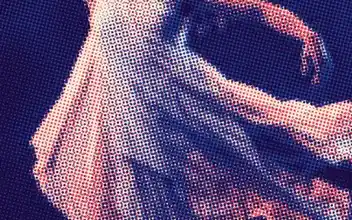 RisoPrints the picture in two inks of fine dots on cream paper, a little off register, like a risograph.
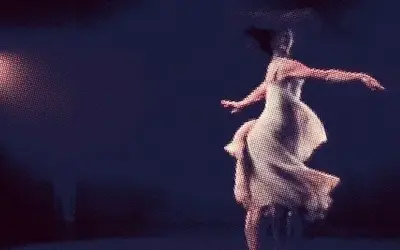 Riso GlowA two-ink riso print whose bright ink glows and slowly breathes, like fluorescent ink.
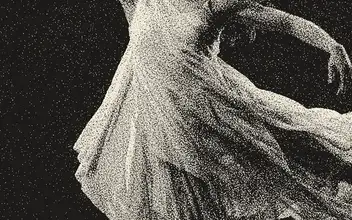 Paper PrintPrints the picture in one ink on paper, made of a fine grain, like an old mezzotint or a photo in a book.
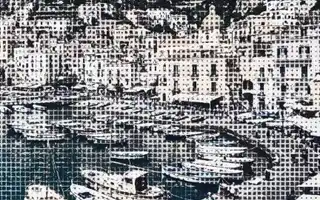 Tone GeometryReplaces the image with a grid of squares, circles or triangles sized by darkness, in Ink on Paper.
Which one?
Section titled “Which one?”| Look | Use |
|---|---|
| newspaper dots that grow in dark areas | Halftone |
| a screen of circles, diamonds or lines | Pattern Halftone |
| a few colour levels with a fine checker | Dithering |
| a 1-bit picture in two inks | Dither Studio |
| a two-ink risograph print, slightly out of register | Riso |
| the same print with a slow pulsing glow | Riso Glow |
| a grain print in one ink, like a mezzotint | Paper Print |
| squares, circles or triangles sized by tone | Tone Geometry |
The shared idea
Section titled “The shared idea”Each of these effects reads how light or dark the picture is and prints marks for it: dots and shapes grow where it is dark, dither patterns decide pixel by pixel between a few tones.
- Ink and Paper are the two colours most of them print with. Riso uses two inks on cream paper; Dithering keeps the picture’s own colours.
- Scale (or Dot Size, Pixel Size, Grain Size) sets the size of the marks; Riso’s and Riso Glow’s Registration sets how far their two inks slip apart.
- Amount mixes back towards the original: 1 is the full print.
Halftone, Dithering, Riso, Riso Glow and Paper Print share one pattern engine with most Lines and Textile looks: the Style menu in their card switches between these looks. A control you changed keeps its value and keyframes when the new look has the same control; the others open at the new look’s defaults. Riso’s and Riso Glow’s Registration is a slip, not a mark size, so it carries only between the two (details in Effects).
Technical details
Section titled “Technical details”Mark sizes are measured in pixels. Riso Glow and Tone Geometry move over time, so playback shows more than a still. How the looks are built: Effect system.